If you’re looking to streamline your content creation process and produce high-quality blog posts in a fraction of the time, Rytr AI can be a game-changer. With Rytr, you can write a 2,000+ word blog post in just minutes, saving you time and effort while ensuring top-notch content. In this article, we’ll explore how you can use Rytr AI to create a long-form blog post quickly and efficiently.
What is Rytr AI?
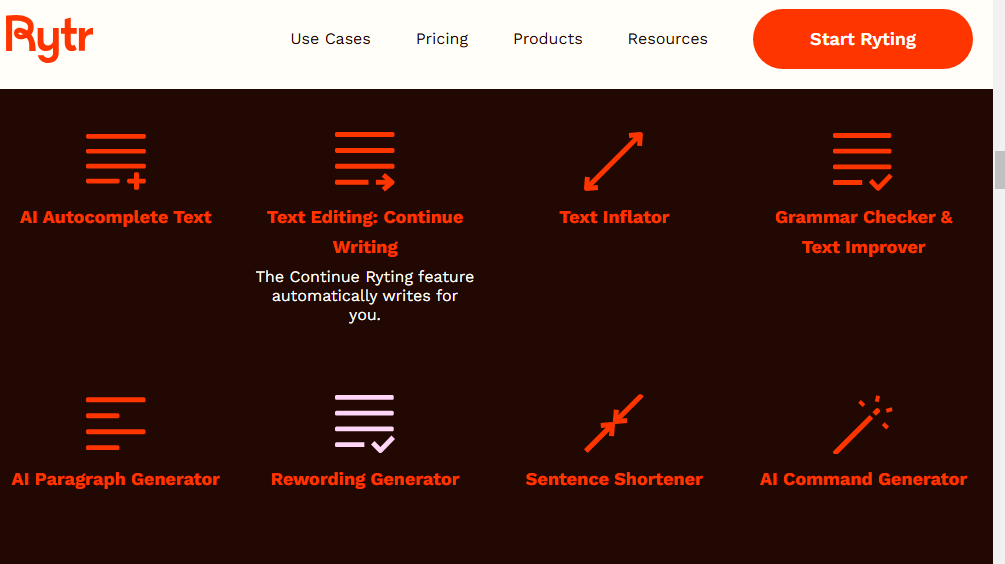
Rytr AI is an advanced AI-powered copywriting tool that helps content creators generate high-quality written content. Whether you’re writing a blog post, social media content, product descriptions, or more, Rytr can assist you in drafting your content with ease. By leveraging AI technology, Rytr uses powerful algorithms to understand context and generate coherent, relevant, and human-like text in no time.
Step 1: Set Up Your Rytr AI Account
Before you start creating your blog post, you’ll need to sign up for Rytr AI. Once you’ve set up your account, you’ll gain access to a variety of templates designed to help you create different types of content. Whether you want to write short social media posts or long-form blog articles, Rytr has you covered.
For blog posts, Rytr offers a “Long-form Content” template, which is perfect for creating posts like the one you’re about to write.
Step 2: Start by Generating Your Blog Post Outline
One of the first things you’ll do when writing a blog post in Rytr AI is generate an outline for your article. Rytr offers a “Blog Idea and Outline” feature that provides you with a structured plan based on your topic. This outline helps you stay on track while ensuring that your blog post covers all necessary points.
To generate an outline, simply input your main keyword or blog topic into the Rytr interface. Rytr will then generate a list of subtopics and sections to include in your blog post. The tool gives you a variety of options, allowing you to choose the best structure that suits your content needs.
Step 3: Research and Refine Your Blog Post Idea
While Rytr provides a great outline, it’s essential to do a bit of research to ensure that your blog post topic is trending and gets sufficient traffic. You can perform a quick Google search for your keyword to see what other bloggers are writing about. This research can help you identify recurring themes and popular subtopics.
By browsing through top-ranking blog posts, you can gather ideas and identify content gaps that you can address in your post. Copy relevant sub topics or themes from these articles and add them to your Rytr-generated outline.
Step 4: Generate Content for Each Section
Now that you have your outline and subtopics in place, it’s time to generate content. For each section of your outline, Rytr will produce a paragraph of text based on the given subtopic. Here’s how you can do it:
- Select a Subtopic: Choose a subtopic from your outline.
- Generate Content: Click on the “Generate” button or use the “Paragraph” feature to let Rytr AI write content for that section.
- Review and Edit: Review the AI-generated text. If necessary, you can click “Generate” again to get alternative suggestions or refine the content to make it more specific.
Step 5: Optimize Your Content with Keywords
In order to make your blog post SEO-friendly, make sure to include relevant keywords in your subtopics. Rytr allows you to input specific keywords, which helps the AI generate content that is more targeted and aligned with your SEO goals. Including keywords in your headings and subheadings also signals to search engines that your content is highly relevant to your target audience.
By adding keywords like “budget planning,” “best savings apps,” or “financial goals,” you can increase your chances of ranking higher on Google for those terms.
Step 6: Enhance Content with More Details
As you generate content, you may notice that some sections need more elaboration. Rytr’s AI-powered engine can continue generating content for each section as long as you provide it with the right prompts. You can use the “Paragraph” feature multiple times to extend or elaborate on the ideas.
For instance, if you’re writing about “Simple Ways to Spend Less,” the initial content may talk about basic budgeting. You can refine the content by asking Rytr to expand on different strategies or share additional tips for saving money.
Step 7: Edit and Refine Your Blog Post
Once you’ve generated enough content, it’s time to edit your blog post for clarity, flow, and accuracy. While Rytr provides high-quality, AI-generated content, it’s important to ensure that everything reads naturally. You can remove unnecessary words, restructure sentences, and add your personal voice to make the content more engaging.
Additionally, you might want to adjust the tone of the content. Rytr lets you customize the tone for your blog post, whether you want it to be persuasive, informative, casual, or professional. This ensures that your blog resonates with your target audience.
Step 8: Finalize Your Blog Post
Once you’re happy with the content, review it one last time to make sure that it’s cohesive, informative, and SEO-optimized. You may need to make final tweaks, such as adding a catchy title, incorporating a conclusion, or ensuring that all sections are well-connected. Rytr’s generated content is a fantastic foundation, but your touch is crucial to turning it into a polished blog post.
In summary Rytr:
Is easy to sign up and use.
It generates three variations of text.
It comes with a built-in plagiarism checker.
It handles SEO tasks.
You get different tones of writing.
Conclusion
Rytr AI is a powerful tool for anyone who wants to create high-quality, long-form blog posts without spending hours writing. By generating outlines, content, and even SEO-friendly keywords, Rytr streamlines the writing process and helps you produce results faster. Whether you’re a busy marketer, a blogger, or a content creator, Rytr can save you time and effort while still delivering top-tier content.
By following these steps, you can easily write a 2,000+ word blog post in just minutes using Rytr. Remember, while the AI does a lot of the heavy lifting, it’s your final edits and personal touch that will make your blog stand out from the competition.